Night photography can be tricky, but once you get your footing it can be an intoxicating way to spend some quiet time.
The key is stability, and that means doing everything you can to avoid any camera movement:
#1 – You have to have a tripod if you want consistent results.
#2 – A slight breeze is ok, but not great. anything more will leave you frustrated.
#3 – If you have a remote release, great! If not, use your camera’s timer (2 seconds is usually long enough).
Before you start:
#1 – There is a LOT more light in the sky than meets the eye 😉
#2 – Getting focus is the hardest part, especially in the dark.
#3 – Every camera is different. the following is a start. once you get an idea of your camera’s sweet spot, you will be able to set up and get going pretty quickly.
With your camera on a tripod and in AV mode (for starters. later on, you can go full manual), start with the following settings:
ISO 2500 (or as close to that as your camera will allows)
AV F/5.6
Overexpose by a full stop. This is only to check your focus. With that much light, you should be able to get a good idea as to what your camera is seeing.
Now you are going to take a lot of photos, making incremental changes between each frame. When you get them in your computer, you will be able to see the difference the changes make. This is how you will zero in on your optimal settings.
First, reduce your ISO to 1000 (or as close as your camera allows) and underexpose a full stop. Repeat the following until you are a full 3 stops underexposed: Take a photo and reduce your exposure 1/3. (This should be 6 frames.)
Return to 1 stop underexposed and bump up your AV to f/8 and repeat the process above. You will do this, incrementing your AV each series until you have shot through AV f/16. (Depending on your lens you will have 4 or 5 series of 6 images.)
Now you will want to do this again, this time reducing your ISO each time until you have a series at 200 ISO.
Yes, that is a lot of photos. Most of them will serve no purpose other than showing you what works and what doesn’t. To make that determination, you will need to look at them on a computer screen.
I use Adobe Lightroom for 99% of my digital darkroom processing. If you don’t have it, you can try it for free for 30 days and if you like it, the subscription is only $10/month. I highly recommend it. (The subscription also includes Photoshop.)
Lightroom will let you look through your photos sequentially so that you can see the effect of the changes in settings.
You can also explore the Develop settings to see what adjustments are necessary to get your images to the result you want.
As with anything, it takes practice and patience to develop the confidence and comfort necessary to know you can go out and come back with consistent results.
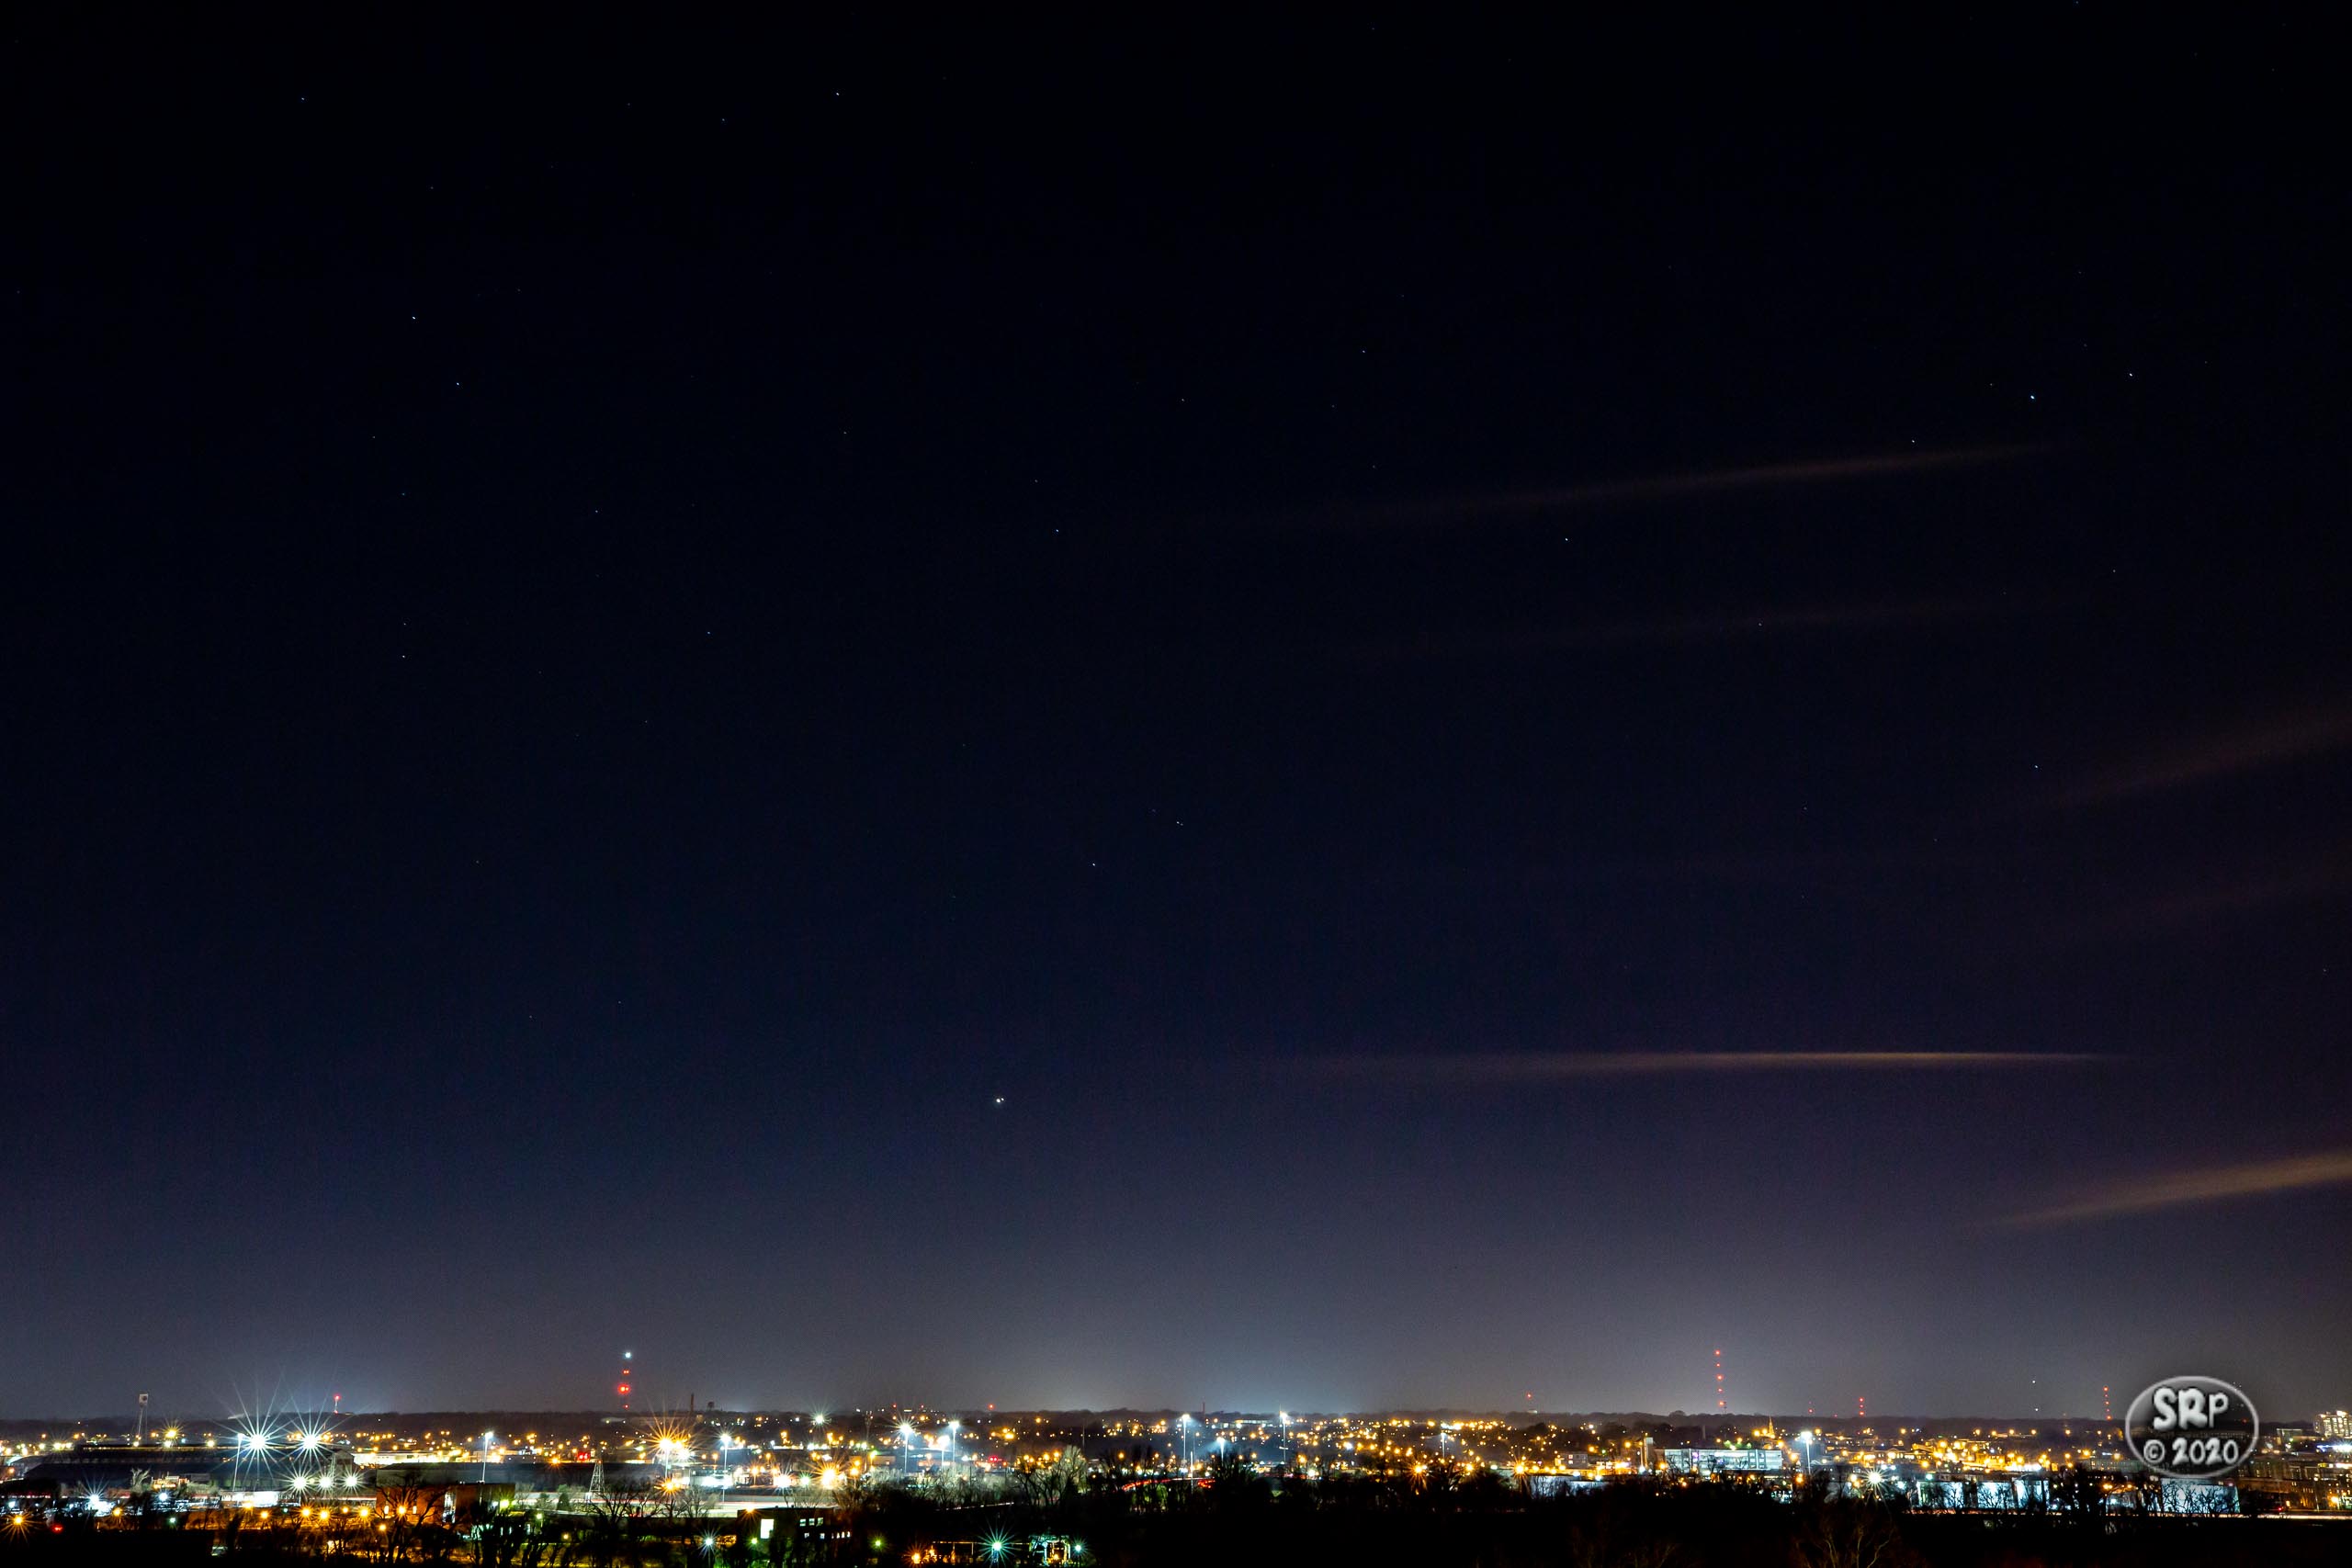
There are four other factors that can have a huge impact on your night images: the moon, the clouds, the sun, and light pollution. Depending on what you are after, each of these can be used to your advantage.
What I described above is what I did starting out. I literally spent hours shooting like this in all conditions (different times of the evening/night/dawn, different phases of the moon, in the city/town or out in the country, clear nights and cloudy nights), just to get the best idea as to what worked and what didn’t. Now when I head out the door, I’m more focused on experiencing the tranquility of the night than being concerned about what I will bring home.
When I head out to do night shooting, I typically carry
– Canon EOS-5D
– Canon EF 24-70 2.8L
– Canon EF 16-35mm f/2.8L
– Manfrotto tripod
– Extra batteries
I dress for the season (gloves, scarf, and hat can be just as important as your camera gear). And I may take a chair, if I’m planning on being in one place for an extended period of time.
My settings will vary, depending on the situation. My final images are typically between ISO 400 and 800 with an AV range of f/5.6 – f/18, and shutter speeds between 1 and 30 seconds. For the most part, the ISO is the most important one as that will have the greatest impact on how much noise is in the images. After that, the AV affects the depth of focus. If your image will not have a lot of detail, you don’t necessarily need a tight aperture. Lastly, the shutter speed will dictate just how much light you capture – and that depends on what you want. This is where you will need to practice and experiment in order to know what is possible.
Good luck, hope this helps!
Comments are closed